Setting Exercise Presets is how you will tell your Perch camera where to look for each exercise. Each camera operates on a motor that has 130 degrees of rotation, and the position of the camera is dictated based on which exercise you have selected.
This step of your set up is critical to your lift - if the camera cannot see you / the implement lifted throughout the entire movement of the exercise, the data is significantly less likely to be accurate. The easiest way to miss reps or for the system to give you inaccurate numbers is to go out of the field of view of the camera.
This video and the steps below will walk you through how to set your presets:
Below is a portion of our Perch Product Tutorial regarding Exercise Presets.
- In the Exercise Selection screen, choose the exercise for which you want to check or adjust the camera angle.
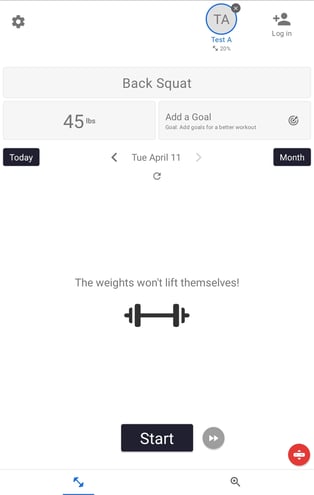
- Select the Bar Presets Button on your Perch Tablet App in the bottom right-hand corner of the screen. This will open up the exercise preset modal - you will also be able to change your exercises in this menu by tapping the exercise.
- You will see three things of importance.
- An exercise selection
- The + / - buttons which control the position of the camera
- Two red lines - these lines represent the field of view of the camera. If the camera is detecting a barbell or human, a barbell or human icon will appear between the two red lines.
- Adjust the camera position by clicking the +/- buttons. Look at the camera to see where it is pointing, and look at the two red lines on the tablet to see if a barbell symbol is visible.
- Keep in mind that the two red lines represent the top and bottom of the field of view; the barbell's position does not need to be centered between them, but rather should move between them while the lift is being performed.
- Before finalizing the camera position, move through the full range of motion of that lift with this screen open. You will see the barbell move between the two red lines. If the barbell disappears (i.e. leaves the field of view of the camera), readjust the camera and go through the range of motion again.
- When you are happy with the preset angle, click Save.
- Repeat this process for every exercise you want to reset.
- The red Exercise Preset icon indicates that the barbell is not currently found in the camera field of view. After we adjust the preset, the Exercise Preset icon will turn green to show that the barbell is now within the field of view.
NOTE: These settings are Camera Specific, meaning that each camera can have their own settings. You can go to each camera and repeat the process.
However, if you'd like your cameras to all have the same settings, we recommend you transfer your presets from one camera to the rest using our Device Control Center.